Shortening a motorcycle pot is a difficult task for novice engine manufacturers. We advise you to see a specialist in order to avoid all types of problems. But for those who like to take the risk, here is an article that explains how you can shorten a motorcycle pot.
Exhaust pipes - general information:
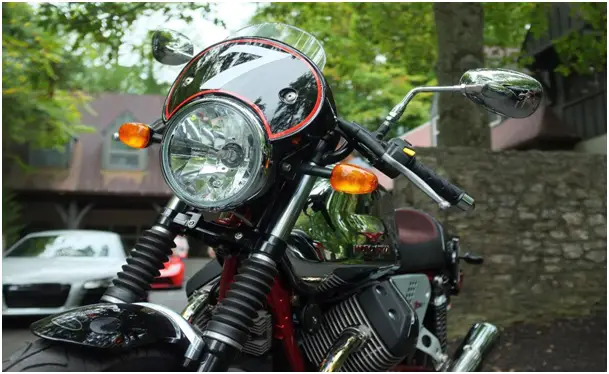
Do not hesitate to consult our guide on exhaust pipes to learn more about this essential component in every motorcycle. In this article, we discuss the different types of exhaust that exist, how they work and buying advice if you want to replace your exhaust.
To shorten a motorcycle pot, prepare it:
So the first thing you need to do is mount the box on your motorcycle so you can decide how much you want to remove.
Then you need to remove the canister from the motorcycle. You will need the following tools to accomplish this job:
- A dead claw hammer
- An ordinary hammer
- A drill
- A drill lubricant
- A grinder with a cut-off wheel
- One 1/8 ″ center punch
- A rivet puller
- Safety glasses
After cleaning the area, drill the shanks of the rivets and remove the heads according to the instructions. Remove the cap and the end of the bobbin, still according to the instructions. Next, pierce the rivets at the front end of the pot (where the midpipe enters) in the same way and remove the inner piece and attached baffle tube. Throw away the old wrapper (unless you want to reuse it, but for me it's a great time for new wrapping) being careful not to cut yourself on the wire mesh wrapped around the tube.
Now measure from the back end of the tube and mark the length you decided to cut in step one.
Our recommended products to shorten the pot of your motorcycle:
To conclude, here are some recommended products on Amazon:
Other parts for your motorcycle available on Amazon
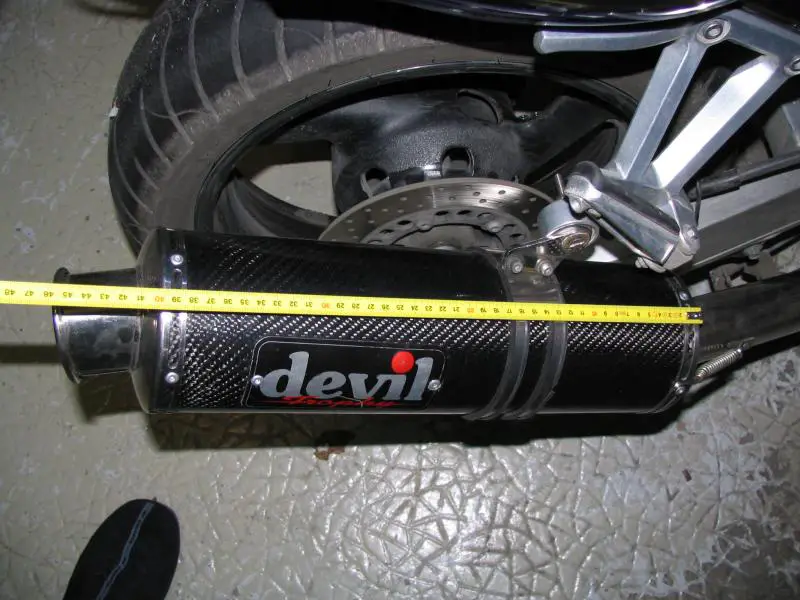
Shorten the pot of your motorcycle
Cut along this line with your cut-off wheel, being careful not to let the cut-off wheel slip away from you and tear the wire mesh. Take your time, cut slowly and cut straight. You can see here how much shorter the casings are now than they were / than the box is yet.
Then mark the outer sleeve in the same spot, making sure to cut the front end of it (otherwise you'll cut into the nameplate obviously).
Today cut it, being EXTREMELY careful not to slip and damage the carbon fiber. Also, I recommend a dust mask of some sort as carbon fiber and resin dust cannot be good for you.
Cut the pot off your motorcycle
Now slide the mouthpiece cover over the fresh cut end of the outer sleeve and mark all the hole locations. This end of the outer sleeve will now be your back end. This is done so that the identification plate does not end up under the clamp of the box. Drill the holes as shown. I recommend buying a drill bit designed for carbon fiber. They are not cheap, but you can very easily use 4 or 5 normal 100 degree bits when trying to pierce the carbon fiber.
Carbon fiber drill bit available on Amazon
Slide the front end and the deflector tube into the outer sleeve, observing the orientation of the ends. Install the stainless steel band and rivets, then rivet the front end cap and outer sleeve together, then put the new packing material into the box according to the instructions.
Install the rear end and check the hole alignment with the outer box. You may need to weld the holes of the outer sleeve a little to obtain a correct alignment, but make sure that if you do, you are removing ONLY material from the outer sleeve, not the plug. The cap and outer sleeve should be aligned correctly since they were together initially. As before, use a bit designed for carbon fiber or prepare to replace your 3/16 ″ bit. You can now check the lengths.
Finally, reinstall on your motorcycle and enjoy a great sounding pipe and unrestricted tail light!