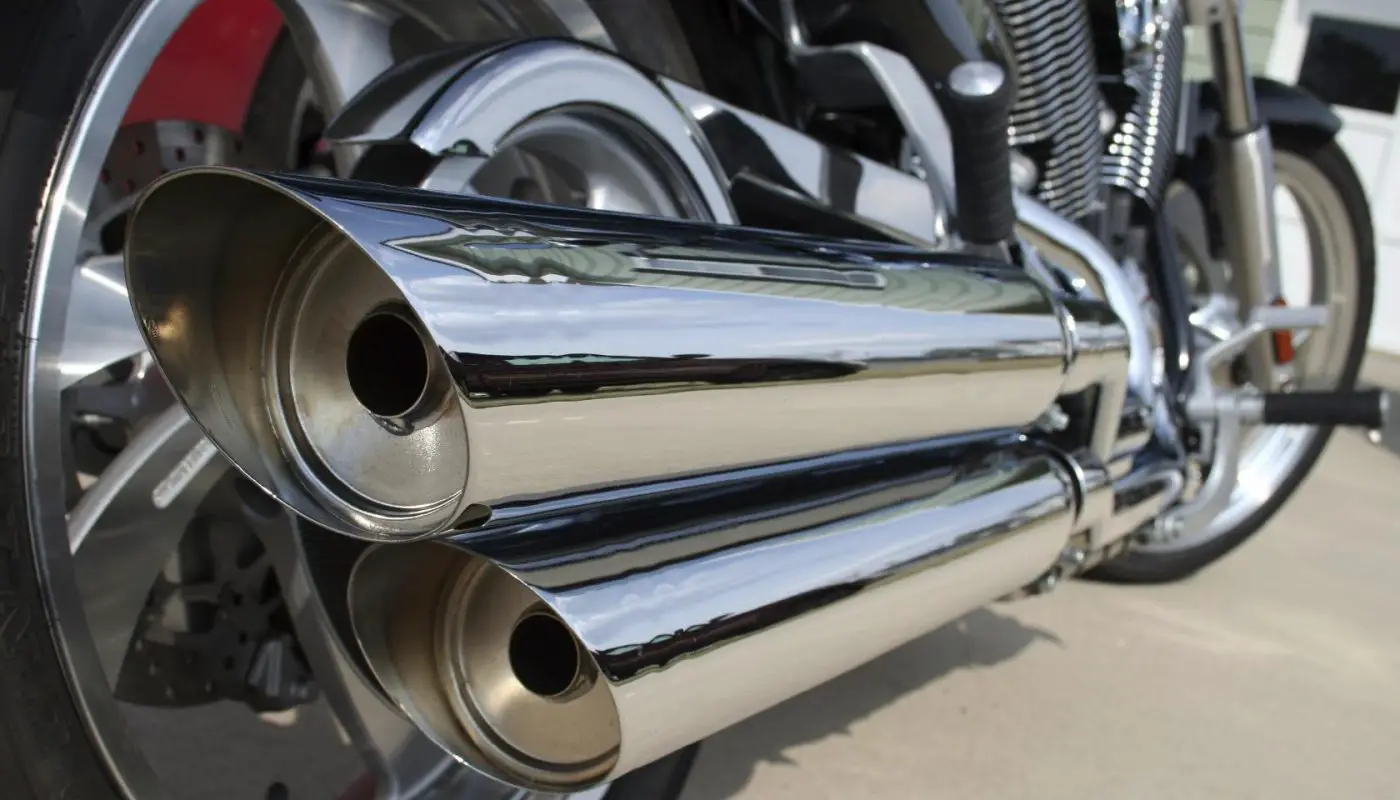
It's not uncommon for your motorcycle's exhaust to need minor repairs over time. These exhausts are still in use, and as a result, they can wear out quite quickly. Fortunately, with some basic welding knowledge; you will not need to go to a repair shop to weld your motorcycle's pot
This is where DIY welding comes in handy; you can save the repair money and weld your muffler in your garage or workshop. Of course, regardless of your level of experience, it is prudent to understand the basics of welding an exhaust pipe. Welding a silencer without the necessary techniques can make the situation worse; which is not likely to boost your morale as an expert DIY welder.
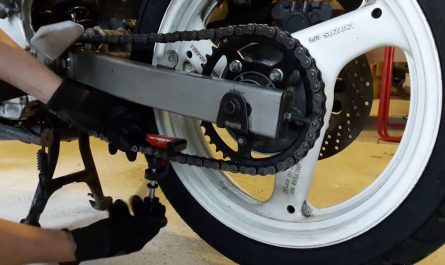
In order to successfully weld an exhaust pipe, you need several repair tools. Of course, a working welder is at the top of the list. You will also need a hacksaw, grinder, circular chainsaw, and a welding mask.
Exhaust pipes - general information:
Do not hesitate to consult our guide on exhaust pipes to learn more about this essential component in every motorcycle. In this article, we discuss the different types of exhaust that exist, how they work and buying advice if you want to replace your exhaust.
Steps to solder your motorcycle's pot
Here are some of the main steps you will need to follow when welding your exhaust pipe.
Step 1: Cut the pipe
This process is not as simple as it first appears. You need to cut the muffler with great precision because your cutting technique will play a decisive role in the final look of the exhaust pipe. The first step is to mark the pipe and identify the cut areas.
Then use a hacksaw or chain pipe cutter to cut the exhaust pipe as cleanly as possible. A straight cut will make the job more professional and attractive. Once you are done, you can use a grinder to remove imperfections on the edges and make them thinner. Grinding also helps expose the base metal as it removes any dirt, rust or paint that might be on the surface. This allows you to obtain a clean weld without impurities.
Step 2: Tighten the parts
After preparing the tube parts by cleaning them carefully, the next step is to tighten them. The C-clamps will help you in this process. Their function is to hold the tubes together (in two parts) before starting to weld. Remember that it is essential to adjust the tube to your preferred style, as these adjustments must be taken into account when using a hose clamp.
Step 3: Spot welding
As the exhaust pipes are generally thin, it is advisable to use spot welds (three to five small welds around the pipe). Don't worry, however, warping will be avoided due to the high heat produced during soldering. It is easy to replace the gaps in case they occur on the opposite side of the tube since the spot welds play the important role of holding the tube in place.
Then proceed to solder the remaining spaces in the tube after spot welding. It is essential to weld around the entire circumference of the tube to eliminate the likelihood of leaks. For a durable and strong weld, we recommend welding over the weld spots.
Using stick solder to solder your motorcycle's pot
While some might argue that stick welding is not ideal for exhaust pipe repair, you will be surprised to learn that you can successfully use a stick welder and get great results. However, be prepared to think outside the box when using stick solder to repair your exhaust.
The first and very important step is to determine the ideal wand to use. We prefer the 6011 rod for its precise welds on soft surfaces. Also, be sure to choose the thinnest 6011 wand you can find. The 6011 rod will come in handy when spot welding before welding around the circumference of the muffler.
Although stick welding is rarely affected by dirt, paint or rust, we still recommend that you clean the surface to avoid slag.
Stick solder available on Amazon
Welding of pot using flux cored wire
Although not a highly recommended method of repairing your exhaust pipe, you can still use gasless magnetic flux welding to repair your muffler. It is however advised to clean the pipe to reduce spatter produced by flux welding.
You should also be prepared to adjust your amperage settings while reducing the amperage as flux-cored welding can produce hotter arcs. The wire feed speed should also be adjusted to make the cords shorter and to avoid burning the tube due to an extremely hot arc.
Using the MIG method to weld the pot of your motorcycle
Compared to rod and flux-cored welding, the MIG welding is more suitable for welding exhaust pipes. You can do a great job of repairing your exhaust and making it look like new. To start soldering your exhaust pipes, the first task is to prepare your base metal by cleaning it thoroughly. Make sure your hose is completely free from rust and dust. A wire brush will be useful for cleaning the muffler pipes and thus exposing the base metal.
We recommend that you use a combination of carbon dioxide and argon to weld your MIG tailpipe. To avoid burning your muffler, it is ideal to use a medium amperage range to avoid burning the soft surface.
Our recommended products for welding a motorcycle pot:
To conclude, here are some recommended products on Amazon: