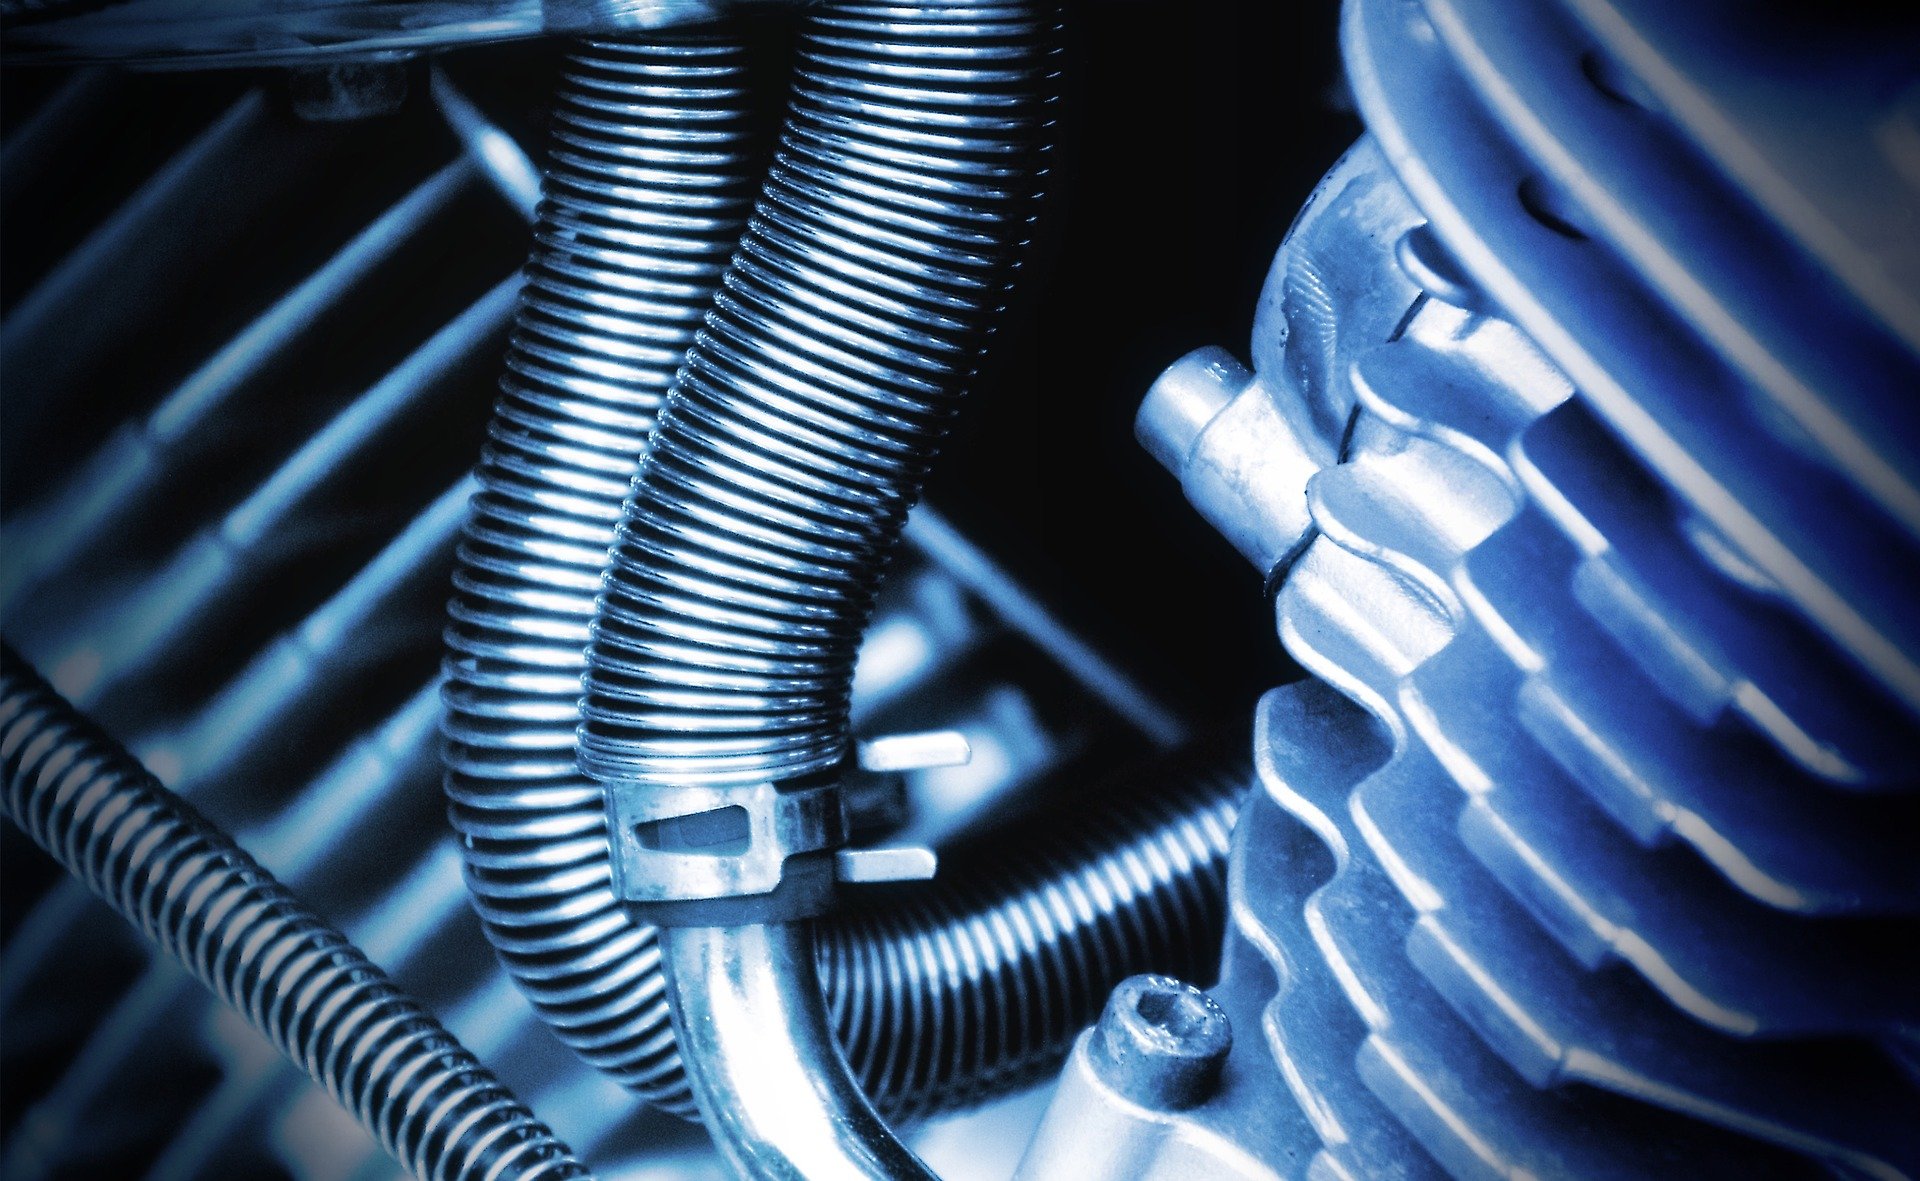
Bleeding a motorcycle clutch is never fun, I think we all pretty much agree on this particular topic, but sometimes we just don't have a choice, like when you have a clutch that keeps sticking for example.
This is surely the case if you have landed here and then you surely do not know how to do it. You will see that this maneuver is not that complicated, provided you know what to do and in what order.
This is why we are going to explain here step by step how to go about doing it yourself like a pro. However, if you don't feel comfortable, that's okay.
In this case, the best thing to do is surely to make an appointment with your usual mechanic who will be able to do this oil change for you in just a few minutes. Finally, while we're here, you can also take a look at our guide to motorcycles in order to provide for a potential future motorcycle purchase.
Precautions to be taken before bleeding a motorcycle clutch
The first thing when you want to bleed a motorcycle clutch is not to bleed it. Indeed, we must at all costs avoid throwing ourselves headlong into this manipulation at the risk of having problems later!
The first thing is that this liquid has the particularity of being extremely corrosive. However, we are never safe from awkwardness, especially if this is the very first time that you have done this precise manipulation.
Before bleeding a motorcycle clutch, you should therefore always take care to protect the painted parts of your machine. This will prevent you from unpleasant surprises and especially additional costs later.
Okay, now that the painted parts are protected, we have one step left before we get into how to bleed a motorcycle clutch. You have to take a pencil on foot to note the position of the gear selector before disassembling it.
Indeed, it's a safe bet that spending hours finding the right setting after finishing the purge does not particularly tempt you. So take these few seconds to note the current position.
Prepare for the purge
Well, that's it, all the preparations are finished and we can now focus on one of the important steps to bleed a motorcycle clutch, the disassembly of the parts to access the fluid reservoir!
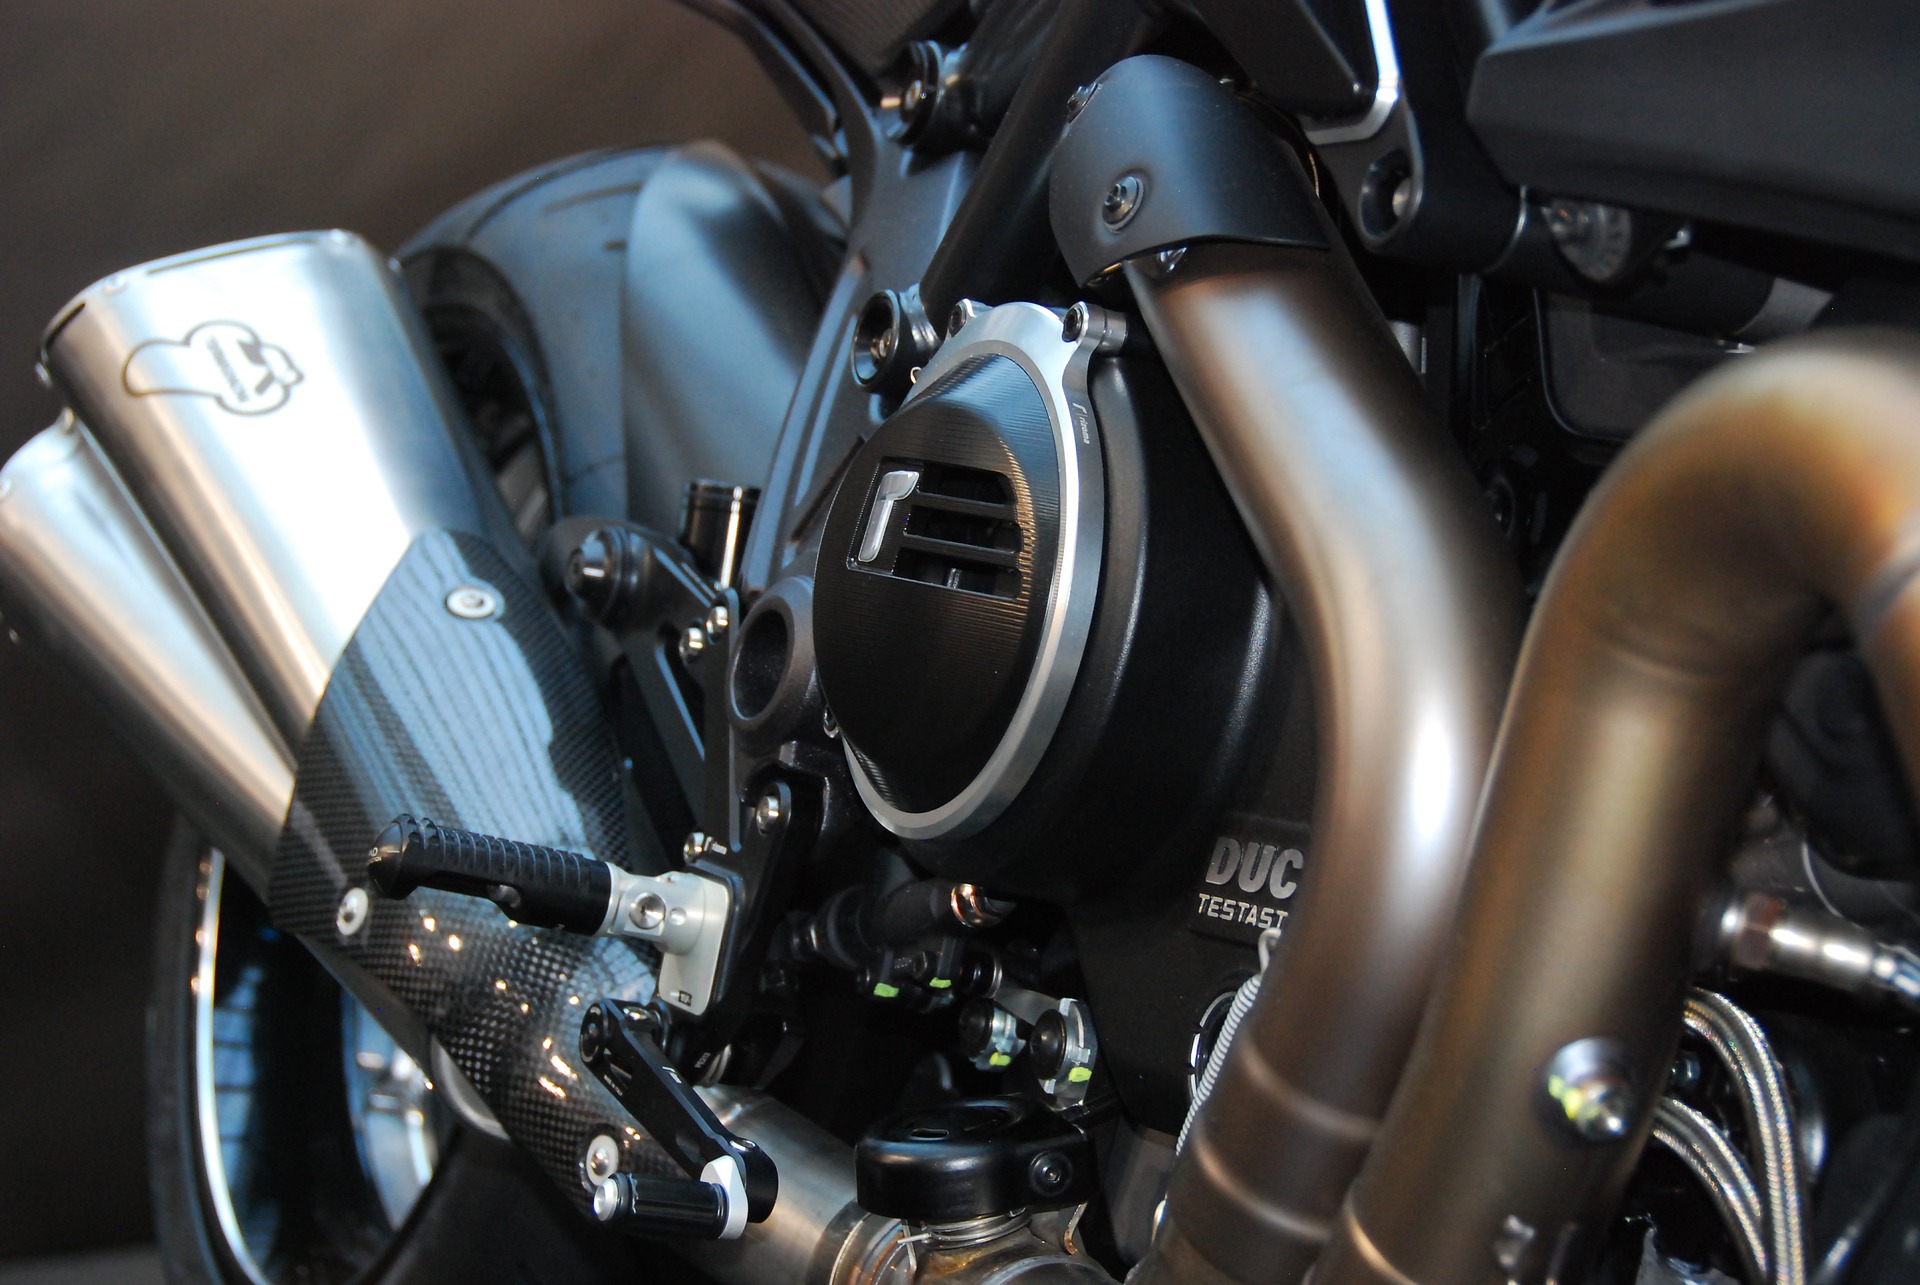
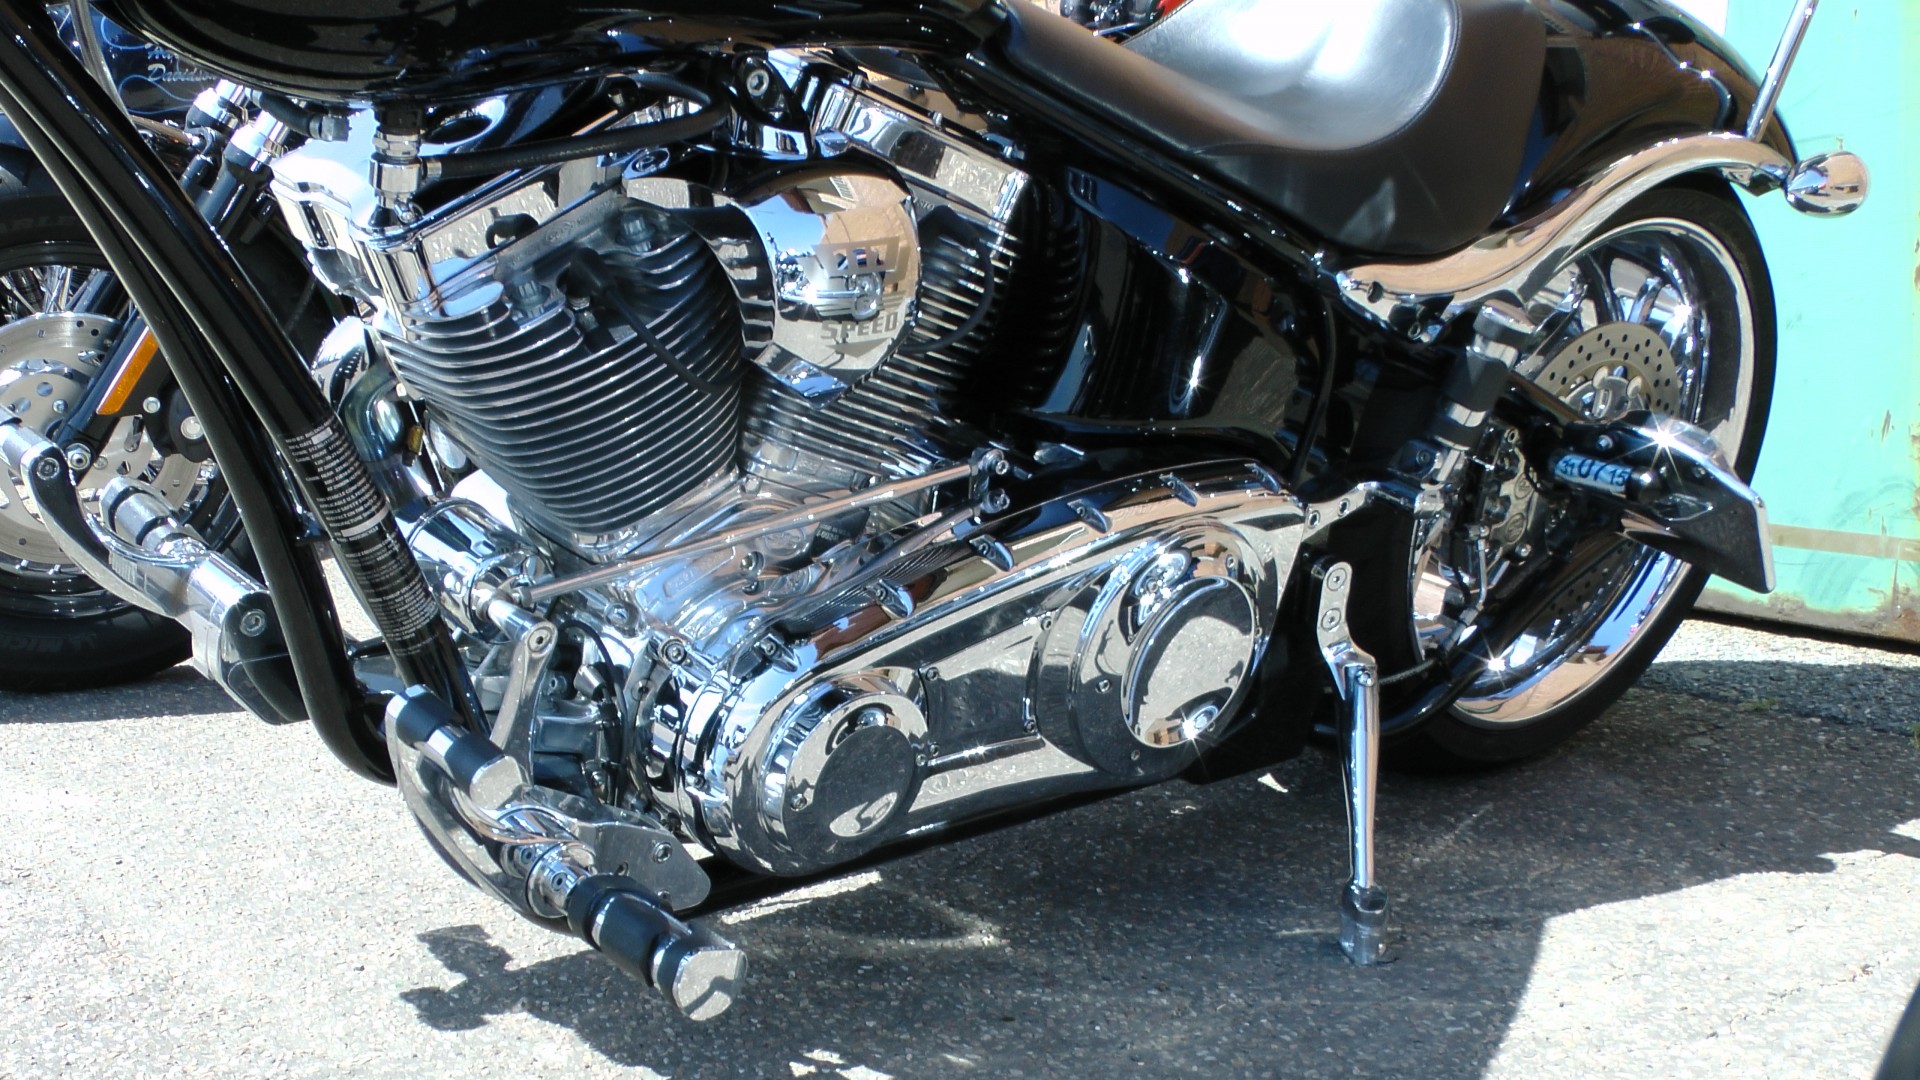
The first thing you are going to have to do is locate the bleed screw which is located just below the gear selector. One last opportunity to mark your position if you haven't done so before!
Then unscrew the selector flange bolt so that it can be removed from the path. You will then be able to remove the housing of this selector which is generally held using a few bolts.
You should now have good access to the famous bleed screw we were talking about before. Then, on the master cylinder side, remove the 2 screws, the white plate and finally the waterproofing membrane.
Once this is done, it is important to position your motorcycle in order to ensure that the liquid in the reservoir is horizontal which will allow us to accurately judge the quantity that there is and that it will be necessary to put.
Bleeding a motorcycle clutch
Now that all is well, we can bleed a motorcycle clutch. To do this, take a small bottle with a little liquid and a hose that protrudes to go directly into the liquid reservoir.
The goal will then be to pass the liquid that is in the motorcycle through this small pipe in order to ensure that it goes directly into the small jar on the other side. To release this fluid, squeeze the clutch lever after the bleeder screw is loosened.
Be careful to go slowly, otherwise you risk getting it everywhere and in addition to completely emptying the tank, which you do not want, because in this case, you will be putting air in it.
This is because leave a background of fluid once you have finished bleeding a motorcycle clutch. You will then have finished bleeding your clutch and all you have to do is refuel!
Refuel
To refuel, stay in the situation you were in just before and slowly inject the new liquid, being careful not to exceed the maximum limit recommended by the manufacturer.
Check that there are no more air bubbles and re-tighten the bleeder screw that you tightened when bleeding your motorcycle clutch. Then reassemble the parts in the reverse order you disassembled them and you will have succeeded in bleeding a motorcycle clutch on your own for the first time!
If ever a few points seem a little complicated to grasp or you need a little deepening, we leave you with this video tutorial explaining how to bleed a motorcycle clutch.