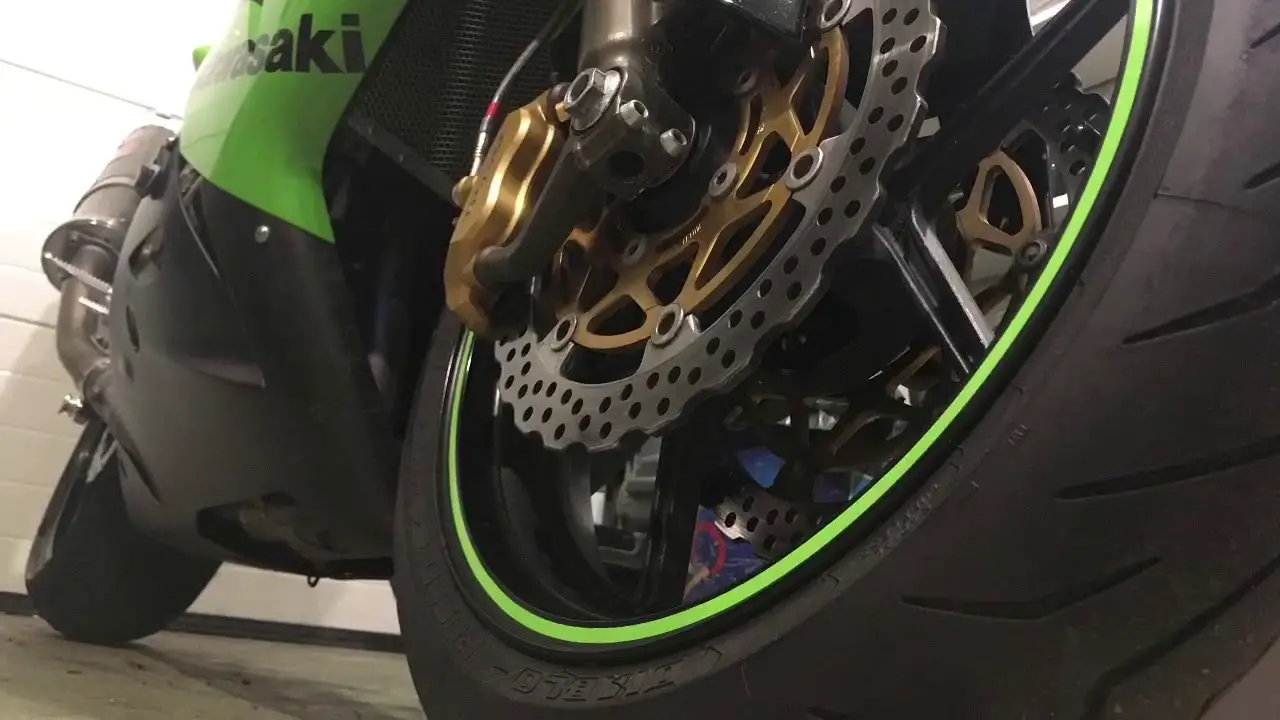
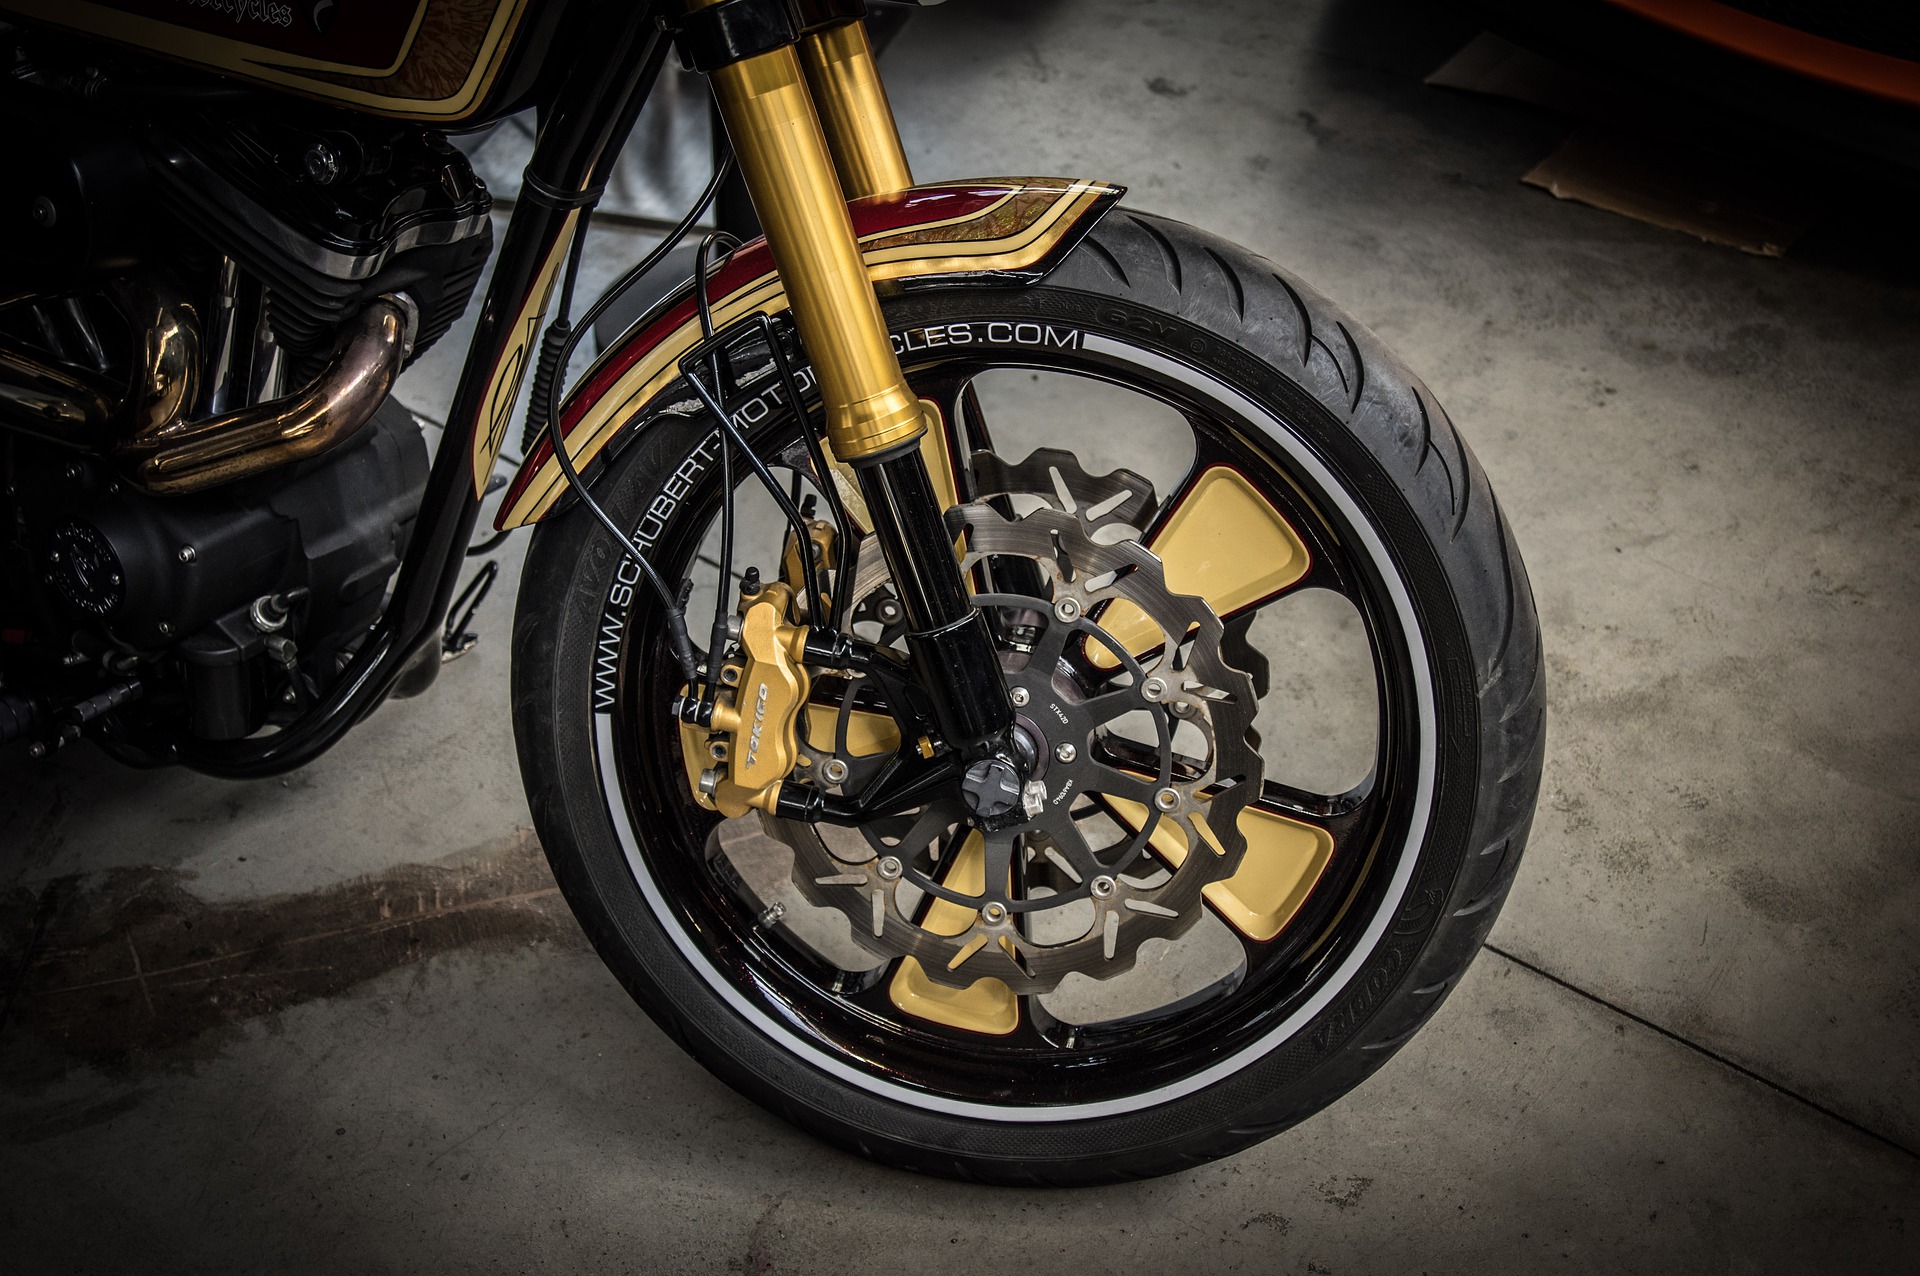
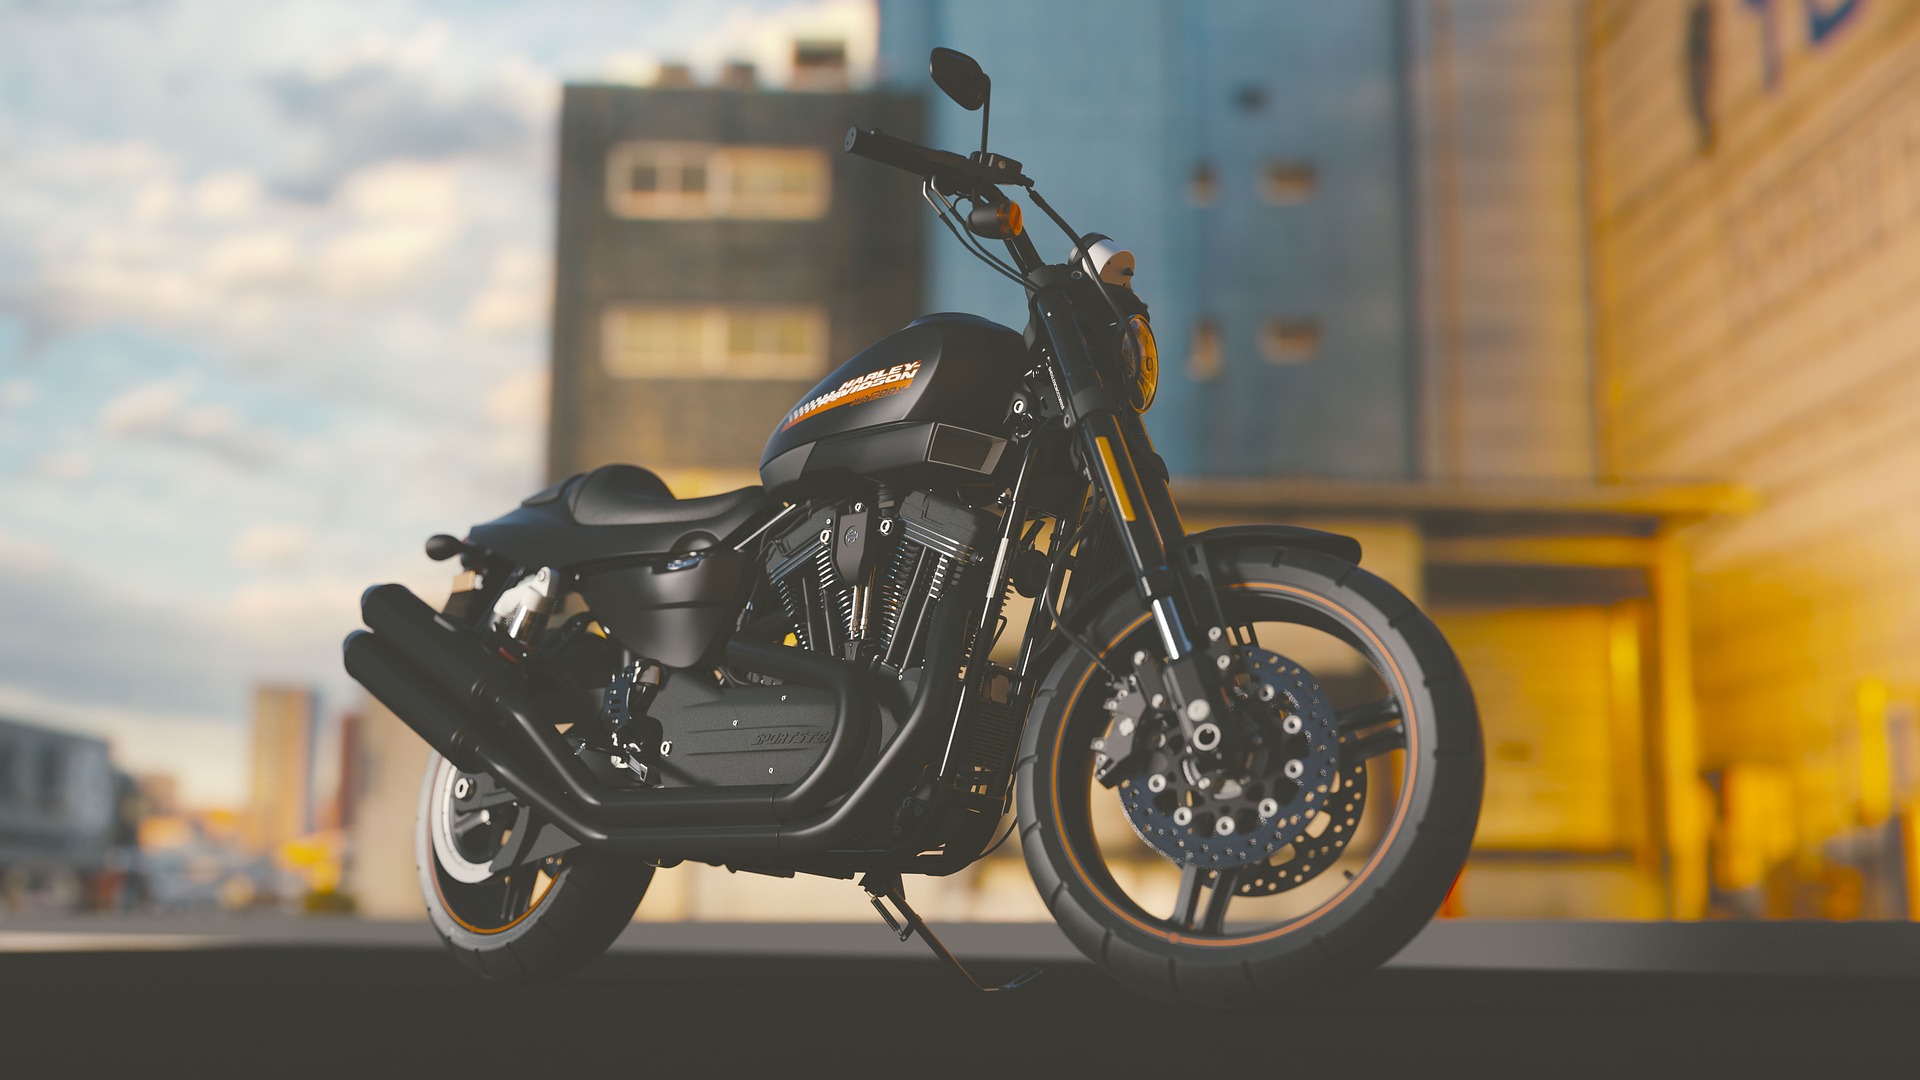
You have just bought a motorcycle thanks to our complete guide to motorcycles and you want to personalize it a bit? You may be tempted to stick edging on a motorcycle rim for this.
Indeed, it's a nice and not too complicated way to customize your bike so that it stands out. In addition, this technique has an unstoppable argument, that of the cost price.
Indeed, you will simply need to buy the edging which should not ruin you unlike other techniques. Speaking of other techniques, we remind you that there are different techniques to customize your rims.
Thus, you can start polishing the rims of your machine rather than sticking edging on a motorcycle rim. If you are interested, we leave you the link to our guide on the subject.
But if what really appeals to you is the edging, then follow the rest of this guide which will explain the few golden rules to remember when it comes to gluing the edging on a motorcycle rim.
Cleaning is important before gluing the liserets on a motorcycle rim
As often, the first thing to do before tackling the main problem, here gluing the stripes on a motorcycle rim, is a little cleaning of the area on which you will work later.
This step can be annoying and a little long, but if you rush it, you will see that the end result will not be satisfactory or at least will not hold up very well over time, which would be a shame.
To clean, we therefore advise you to make a first pass with water mixed with dishwashing liquid for its degreasing properties. Then let it dry.
Then apply some rubbing alcohol to finish the job and you should be good. We advise you not to use products such as white spirit, petrol or acetone.
Indeed, these products tend to leave a small layer after being applied and this could prevent complete adhesion when you want to stick the stripes on a motorcycle rim.
So give preference to the products that we have indicated to you above and wait patiently for them to dry before moving on to the key stage of this tutorial, laying the stripes on your motorcycle rim!
Learn how to properly lay an edging
As you can imagine, this step is quite simple knowing that the borders are only a sticker in the end. However, there are a few golden rules that you will have to respect in order for everything to go well.
The first important thing to check for gluing the stripes on a motorcycle rim is the quality of these. Indeed, those that are inexpensive are generally more likely to peel off fairly quickly.
The manufacturer will have drawn the prices on the components of the edging and therefore necessarily on the glue which is likely to be of low quality. We therefore advise you to take at least the mid-range so as not to have any problems.
Then, the second secret to perfectly laying your edging is not to have neglected the cleaning step. Of course we insist on it, but this step is key and if you ever have any doubts, it is better to clean it again.
Finally, you will have to make sure to avoid bubbles when you are going to stick the stripes on a motorcycle rim? If you follow all of these tips, you shouldn't have any problems later.
Place the liserets on a motorcycle rim if they are pre-curved
Well now that we have seen how to perfectly stick the stripes on a motorcycle rim so as not to have any problems and that it lasts over time, it is time to look at the different types of strips on the market.
To begin, we are going to look at pre-curved strips which are pre-cut strips on a board and which already have a curvature to follow the outline of the rim of your machine.
They are also quite simple to install since you just have to cut them out on the board, present them on your rim to check that everything is good and install them by removing the part that hides the sticky part.
Then take the time to glue them perfectly, gradually eliminating any air bubbles that may appear. You should then have a perfect result that will last over time.
The case of roll rim tapes
The second possible type to put the liserets on a motorcycle rim is those that come in the form of a roll. If it's your first time, it's not necessarily the one we recommend knowing that they are harder to put on.
To help you, you need to use a special applicator. But since pictures speak better than words, we leave you with this video tutorial which comes back step by step on this pose.


