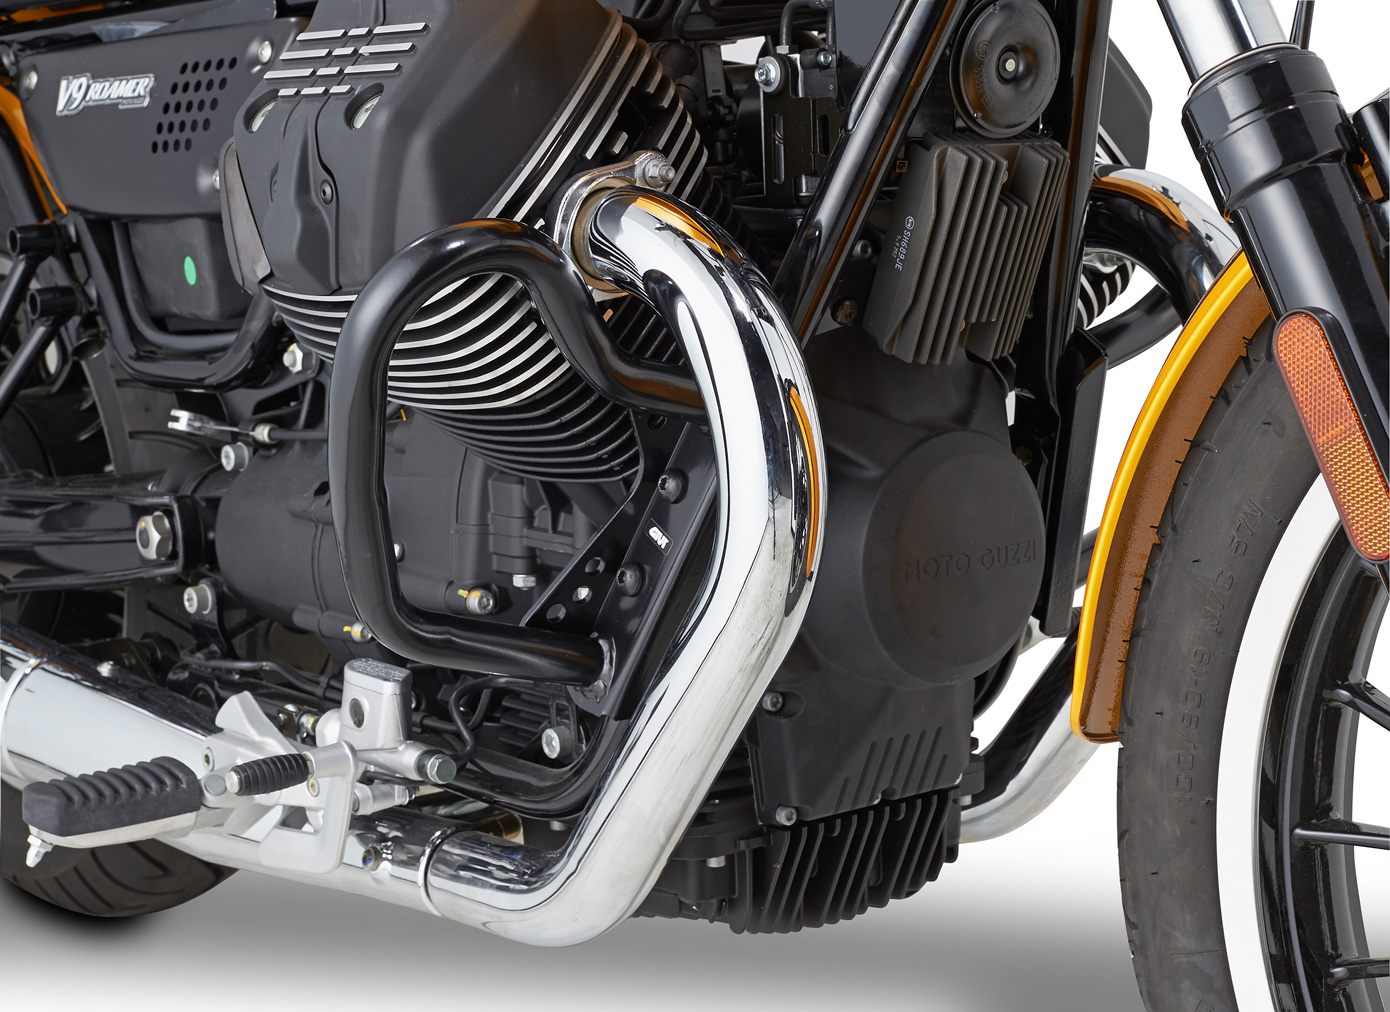
Some parts of your engine are more complicated to change than others and certain operations are ultimately not well known, because they hardly ever take place, such as changing a motorcycle crankcase.
Usually, this is not the part you are going to change your base to because it does not really wear out. In general, if you are reading this article now, there is a good chance that you have just fallen with your motorcycle.
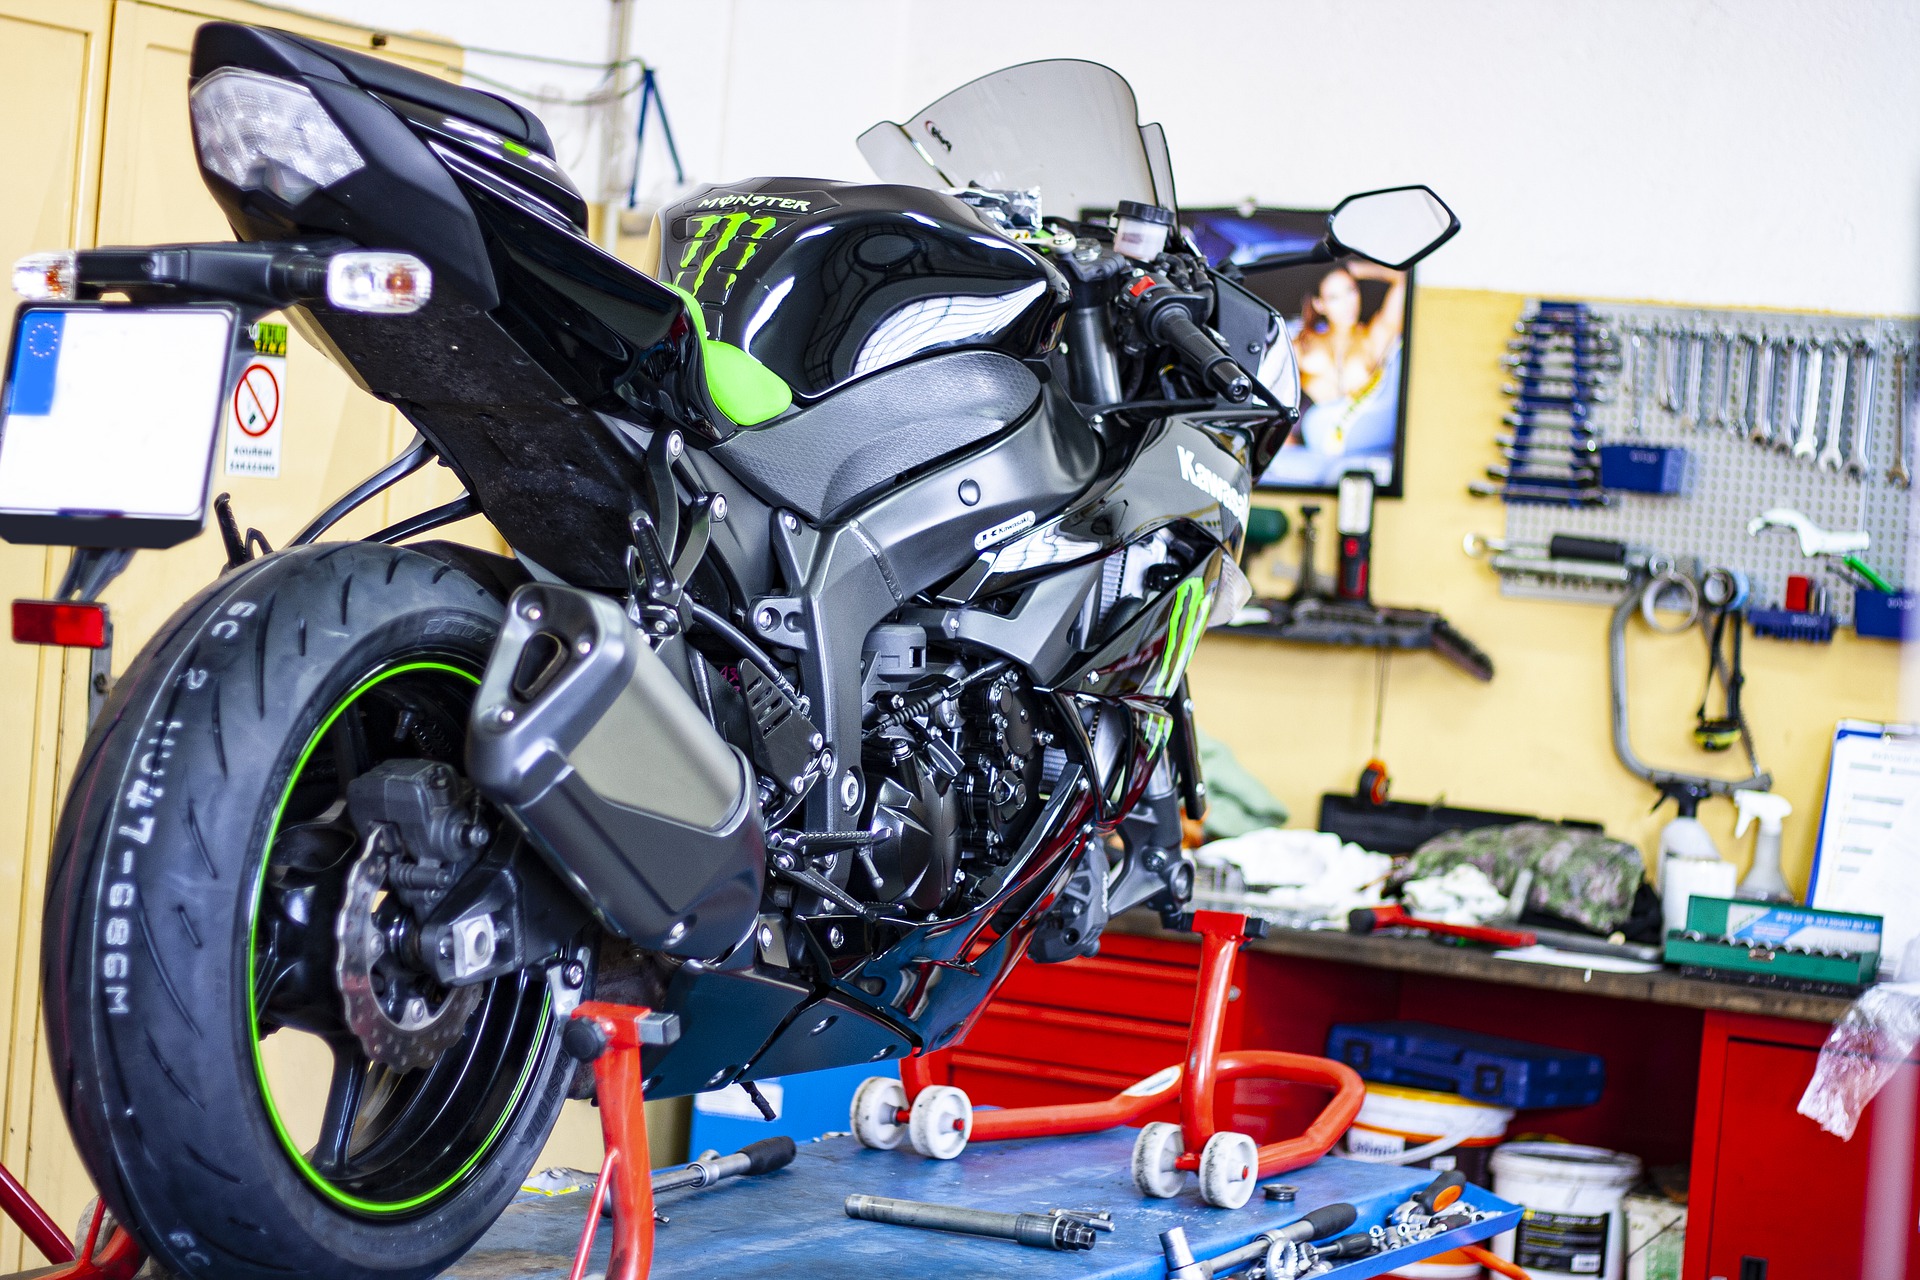
You then wonder if it is possible to do the repair by yourself or if you will have to change your motorcycle and the answer is yes you can fix it. However, you have to be a little comfortable in mechanics before embarking on this kind of adventure.
If you don't feel too comfortable, you can always turn to your usual mechanic to make the change for you. Regarding the price, you will find in the 250 € for the part alone.
Therefore, if you go through a professional, you will have to calculate the manpower necessary to be able to make the change which will generally take around one to two hours to give you an idea.
Do you want to change an entire motorcycle crankcase or just the gasket?
To begin with, it is important to know if you want to make the change of an entire word housing or if you just want to change the gasket. It is indeed a part that is added to another which means that there is a seal to ensure the seal and sometimes this seal can start to leak.
Therefore, if the handling is the same, you do not need to change the entire crankcase of your motorcycle, you just have to buy the gasket and replace the worn one so that you no longer have leaks.
However, if you fell and this fall caused a dent in the card or even worse breaks, there you do not have 50 solutions, you will have to change a motorcycle housing.
If, however, you could not afford to make this change. We advise you to take a tour on our article explaining how to repair the crankcase of your motorcycle yourself.
Precautions to be taken before the change
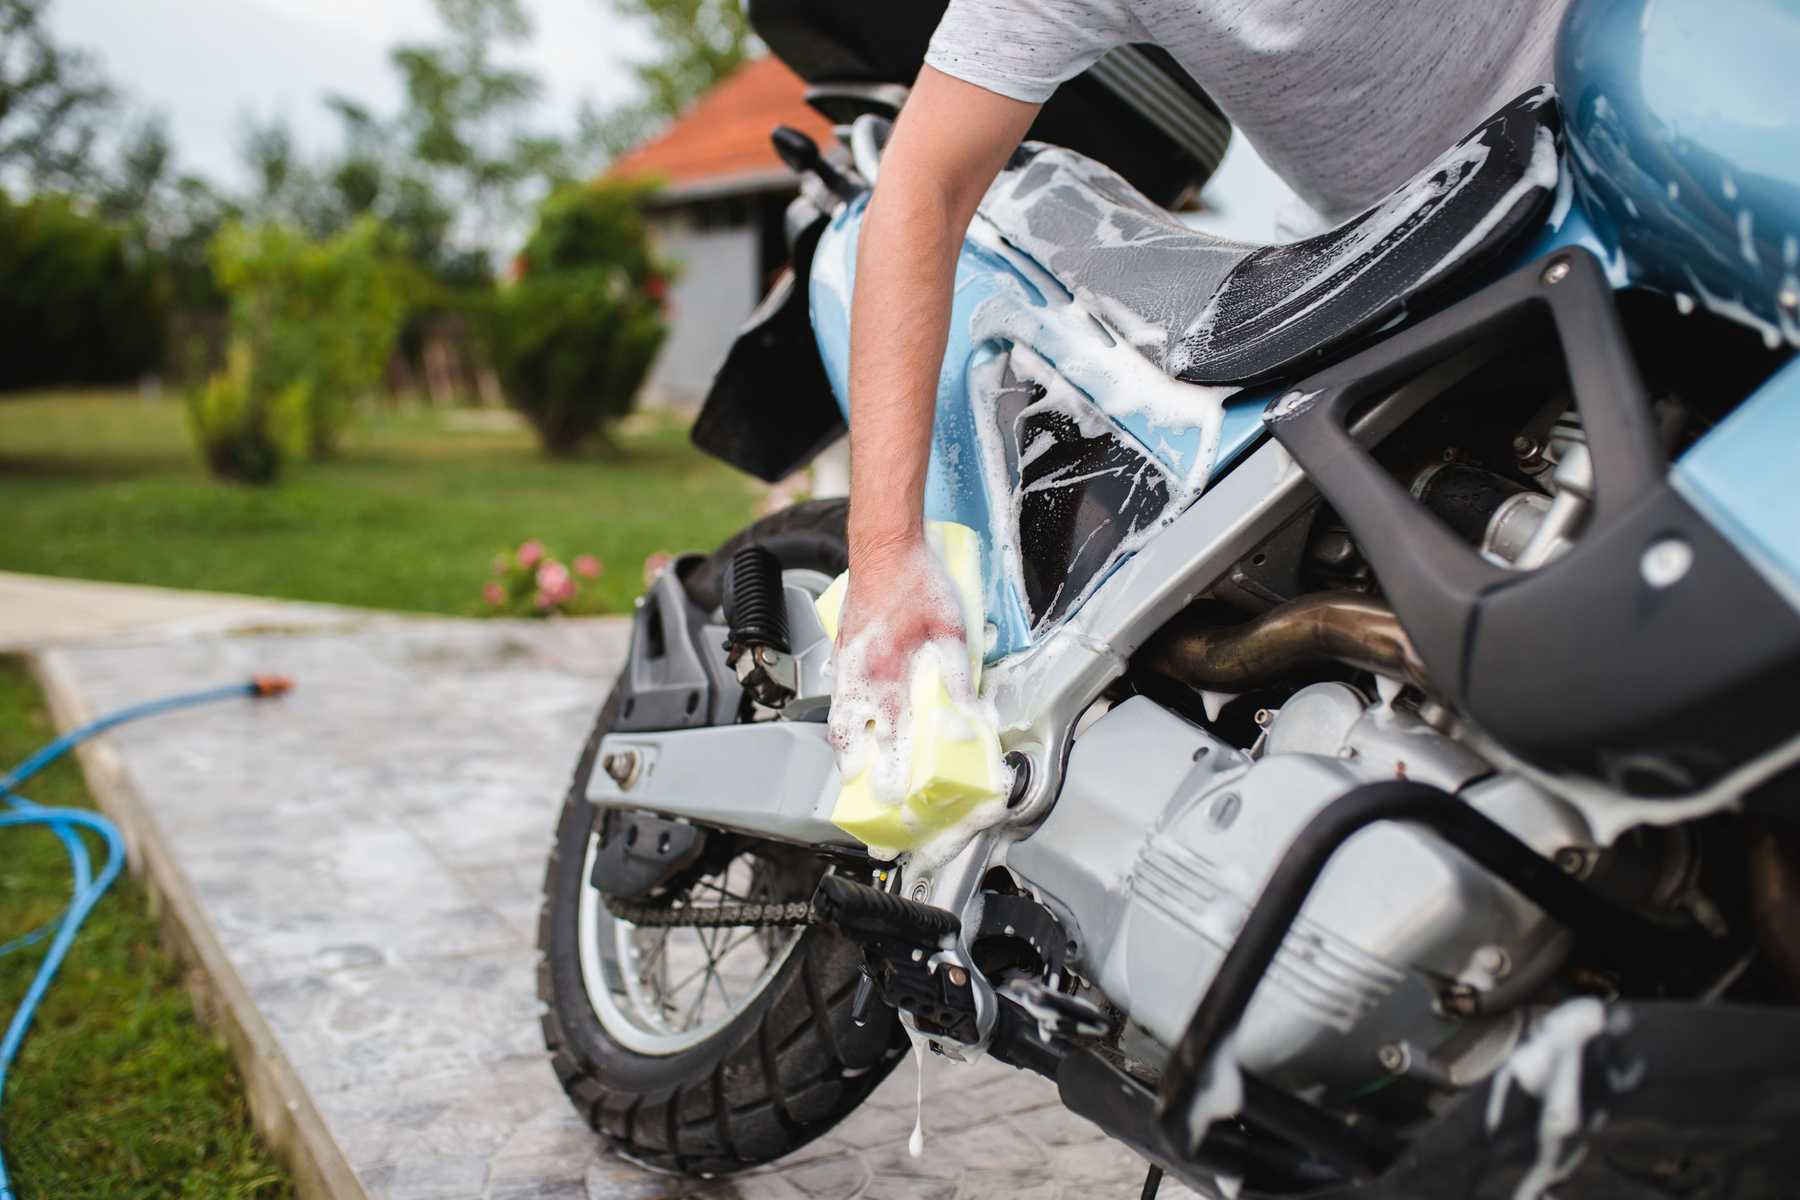
In the crankcase, there is oil, so we strongly advise you to change the oil before you take an interest in disassembling your crankcase, otherwise you will end up with oil everywhere.
So do a quick drain before you start changing a motorcycle crankcase. While you're at it, you can kill two birds with one stone by making the change and the oil change that was planned!
Disassemble the motorcycle casing gently
That's it, everything is ready and we will now be able to spread out in more detail on the change of a motorcycle crankcase itself with disassembly. The first step is to remove all the screws from this housing.
Keep them neatly in order next to you, as they aren't all necessarily the same length and you wouldn't want to have to guess which one goes where when you need to put it all together in a few minutes.
Once the screws are removed, you will have to peel off the sealant that was applied. For this, you can use a rubber hammer to gently peel it all off. Once you are successful, you can finish the job by removing the housing by hand.
Then clean the residue of sealant before anything else to make your job easier when you have to go to the step of reassembling your motorcycle case. For this, use sandpaper for example.
The reassembly, a sensitive passage of the change of a motorcycle crankcase
Okay, now that everything is disassembled and you have either the crankcase itself or the gasket on hand, it's time to move on to the last step of changing the crankcase, reassembly!
To do this, you will have to apply a thin layer of joint compound fairly quickly, which you will apply to both sides of the joint using a finger. Made quickly, this paste tends to stick quite quickly.
Once it's done, apply the gasket and hold it in place by putting a few screws in place. Replace the cover, replace the screws you previously kept aside in the correct order, and tighten.
Then all you have to do is fill up with oil since you have done the oil change before starting to change a motorcycle crankcase and you will be ready to go for a ride again!
If you ever need images to better visualize the different stages of this change of a motorcycle crankcase, we suggest that you are interested in this excellent motorcycle and bikers video tutorial. It even explains how to make a joint yourself inexpensively!